Dallmeyer Pentac 8" f2.8 Restoration and Mounting
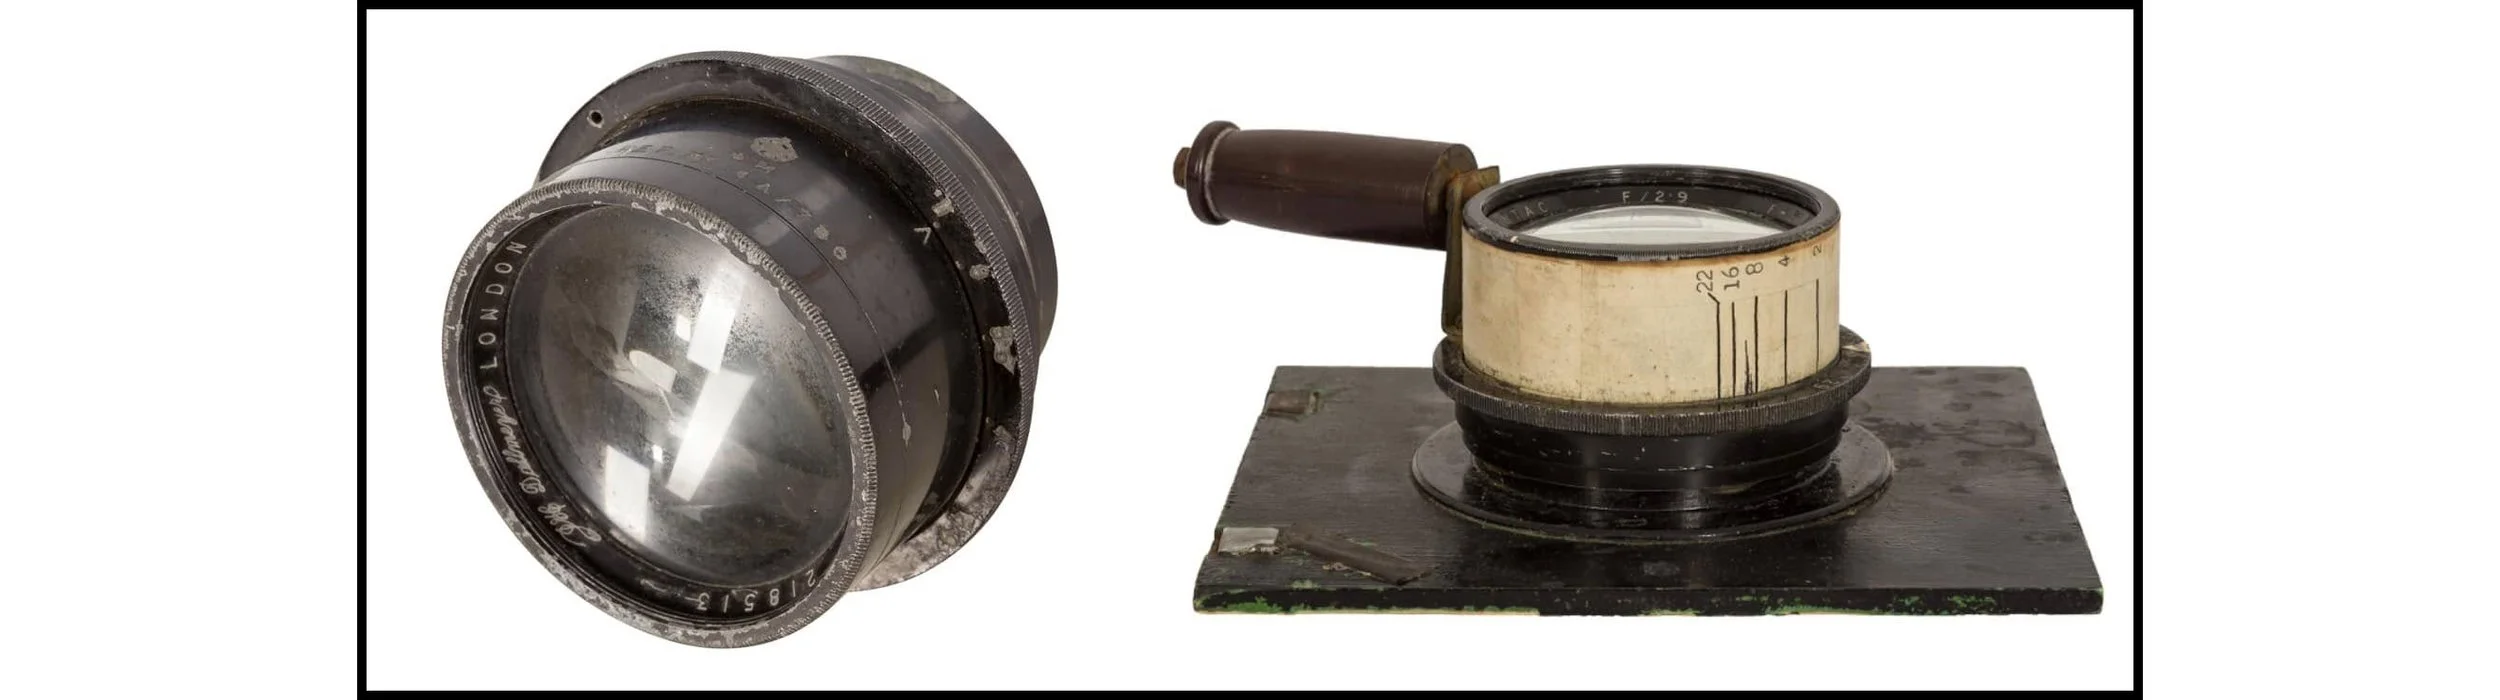
A while ago, I won an auction for two Dallmeyer Pentac 8" f/2.9 lenses for a few pounds, both in a rather sorry state. Originally designed by Lionel Barton Booth for Dallmeyer, the first Pentacs came out in 1920, and with an extremely fast aperture of f/2.9, they were revolutionary for their time. My uncoated 8" lenses, with serial numbers 237512 and 218513, would have been used by the MoD in a 5" x 5" aerial camera. One of the lenses is marked AM (Air Ministry). Nowadays, these Pentacs have a cult following among some large-format photographers because of their soft and dreamy background bokeh and shallow depth of field.
Both lenses were in poor cosmetic condition. The lens cells showed fine hairlines on the surface from cleaning over the years, and the aperture blades in one lens had popped out, which was worrying. In addition, only one of the lenses was suitable for what I was hoping to achieve: making one good working lens from the two. Both lenses were in a poor cosmetic condition; the lens cells showed fine hairlines on the surface from cleaning over the years, and the aperture blades in one lens had popped out, which was worrying. Hopefully I can make a good working lens from the pair.
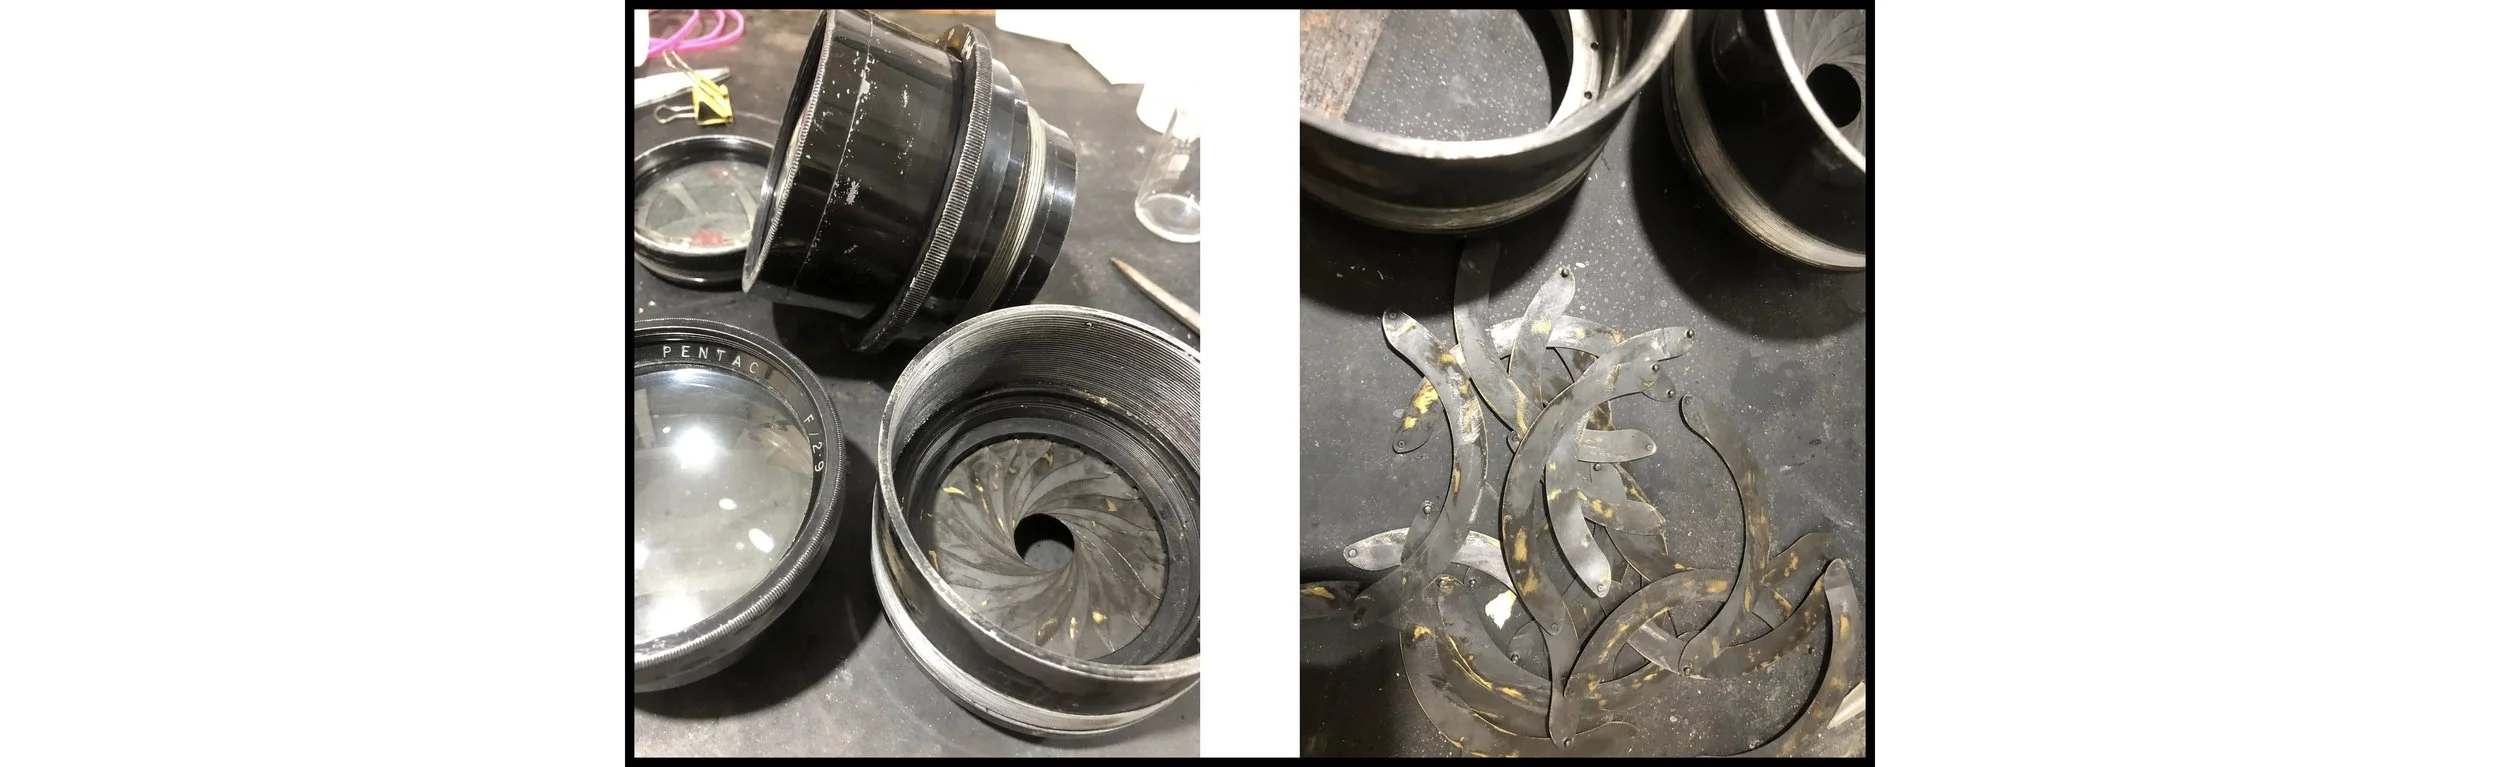
The first step was to disassemble the lenses. This took a while as there were hidden grub screws on the side of the barrels. Once they were located and unscrewed, the barrels were fairly easy to take apart. The aperture blades were removed from the lens where they had popped out and reassembled. Fortunately, none of the aperture blades were damaged, and all the pins were intact. If one or more of them had missing pins, it would have been too difficult for my limited skills to fix. This turned out to be much harder than I envisaged. I spent over two hours trying to fit them, and every time I put the last blade in, all of the other blades popped out, so I needed to find another approach. I decided to use minute drops of super glue to hold each blade in place.
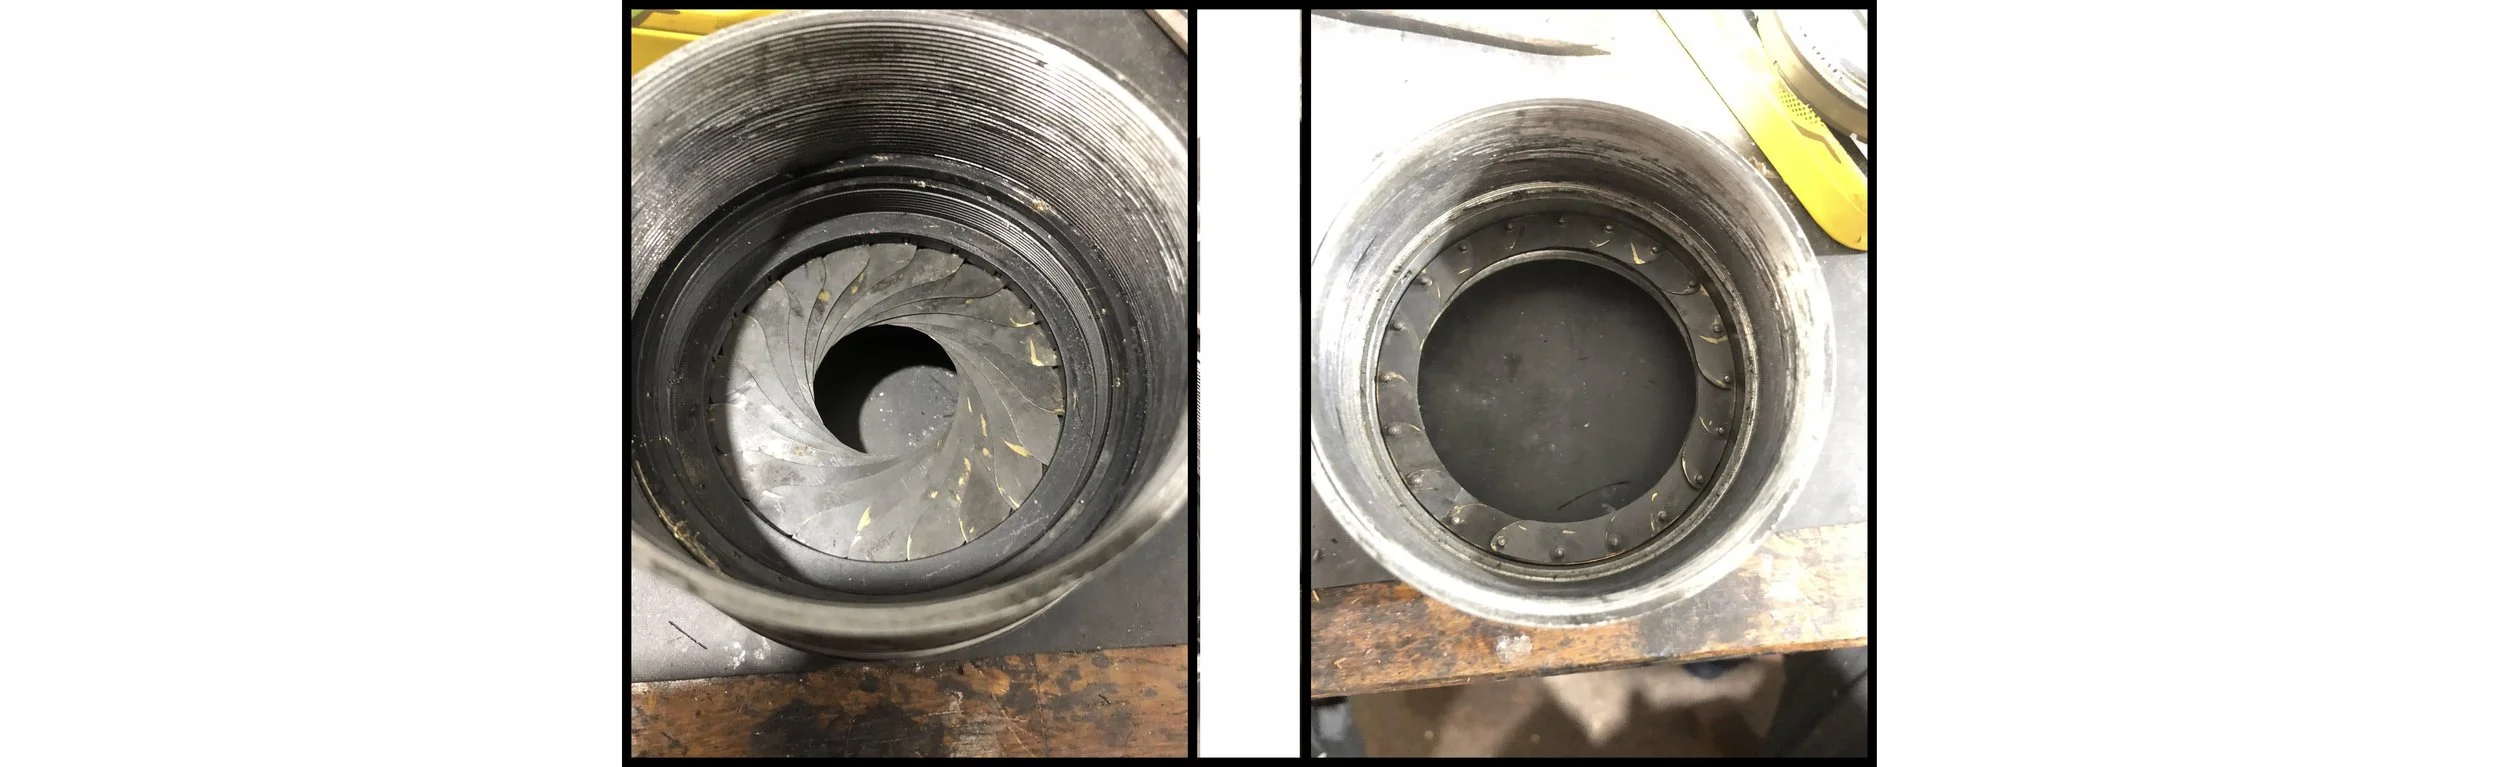
Once I had them assembled and the aperture retaining ring screwed back in, I soaked the barrel in several baths of acetone to remove all traces of super glue. After the acetone had evaporated, the aperture mechanism was nice and smooth.
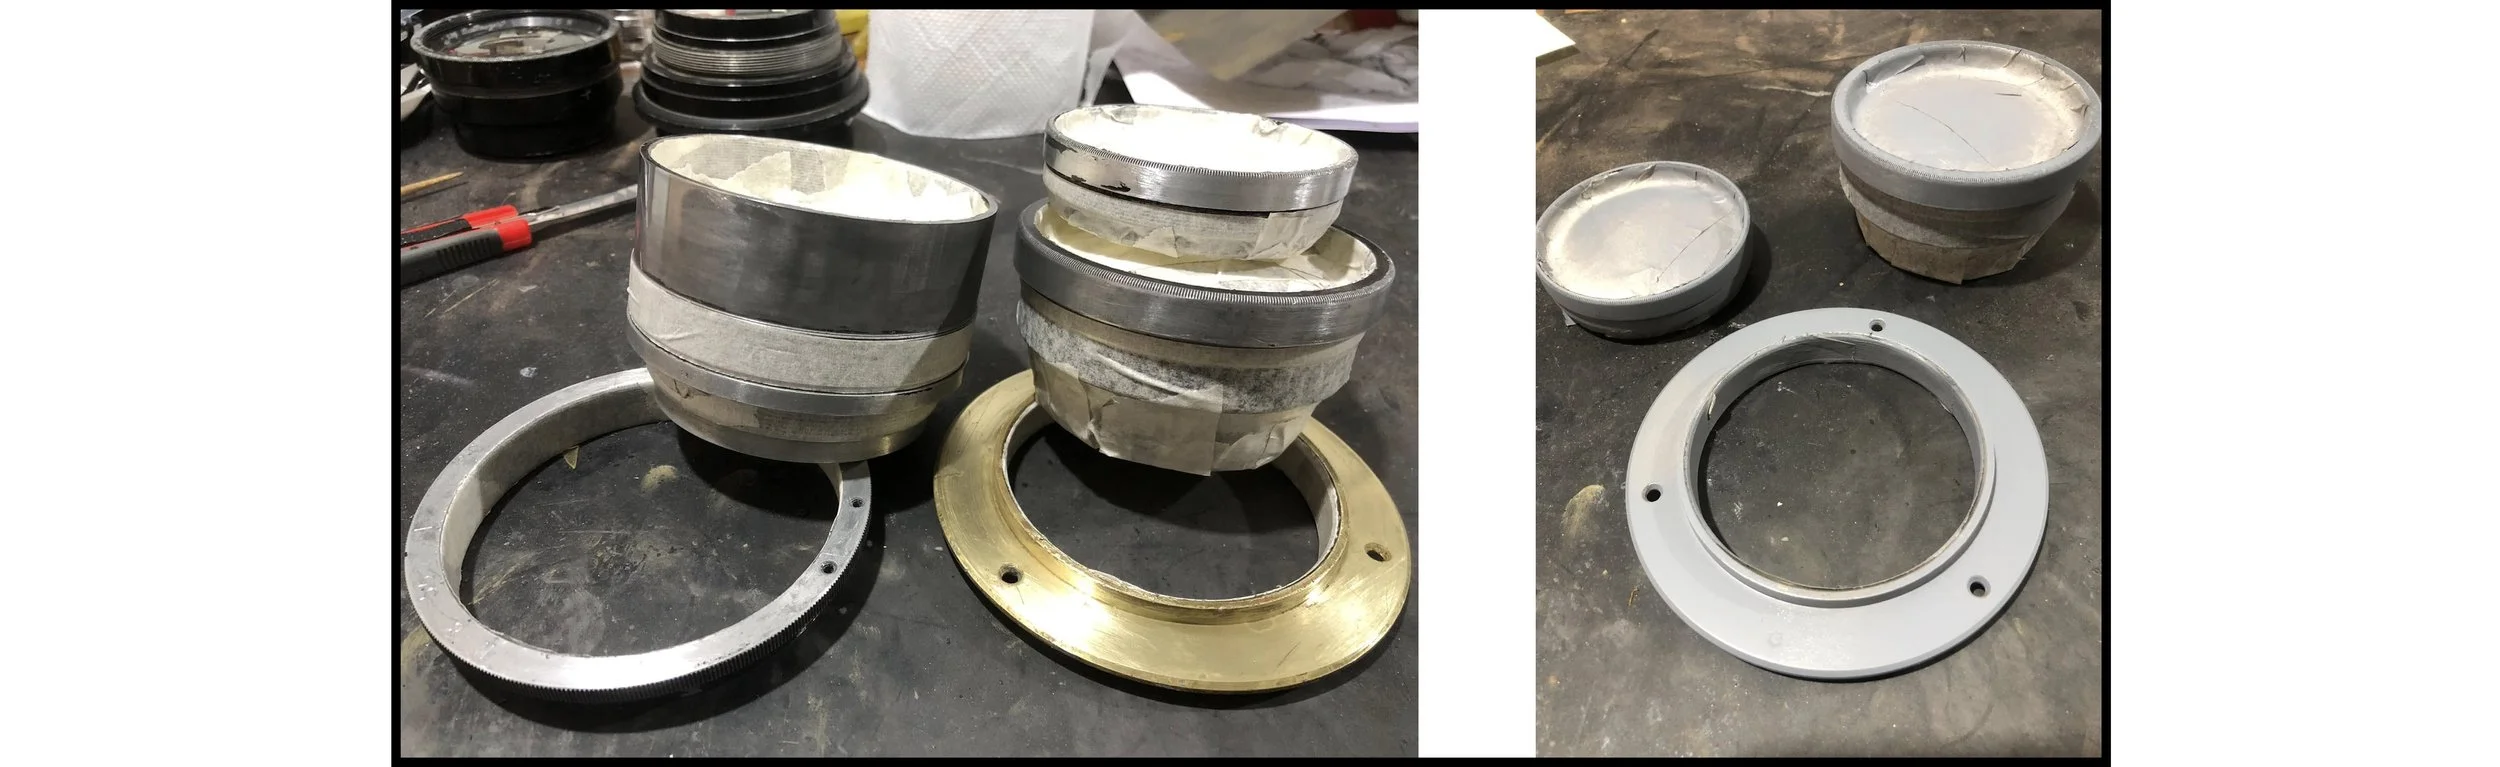
Then, using paint stripper, the paint was removed from the barrels and rubbed down with fine grade wet and dry sandpaper to provide a key for paint. Areas I didn't want to paint were masked off before applying an etch primer undercoat.
Once dry, the primer was lightly sanded the first top coat was sprayed. I chose a black satin finish. Two more coats were applied with a light sanding between layers, and when dry, the masking tape was removed.
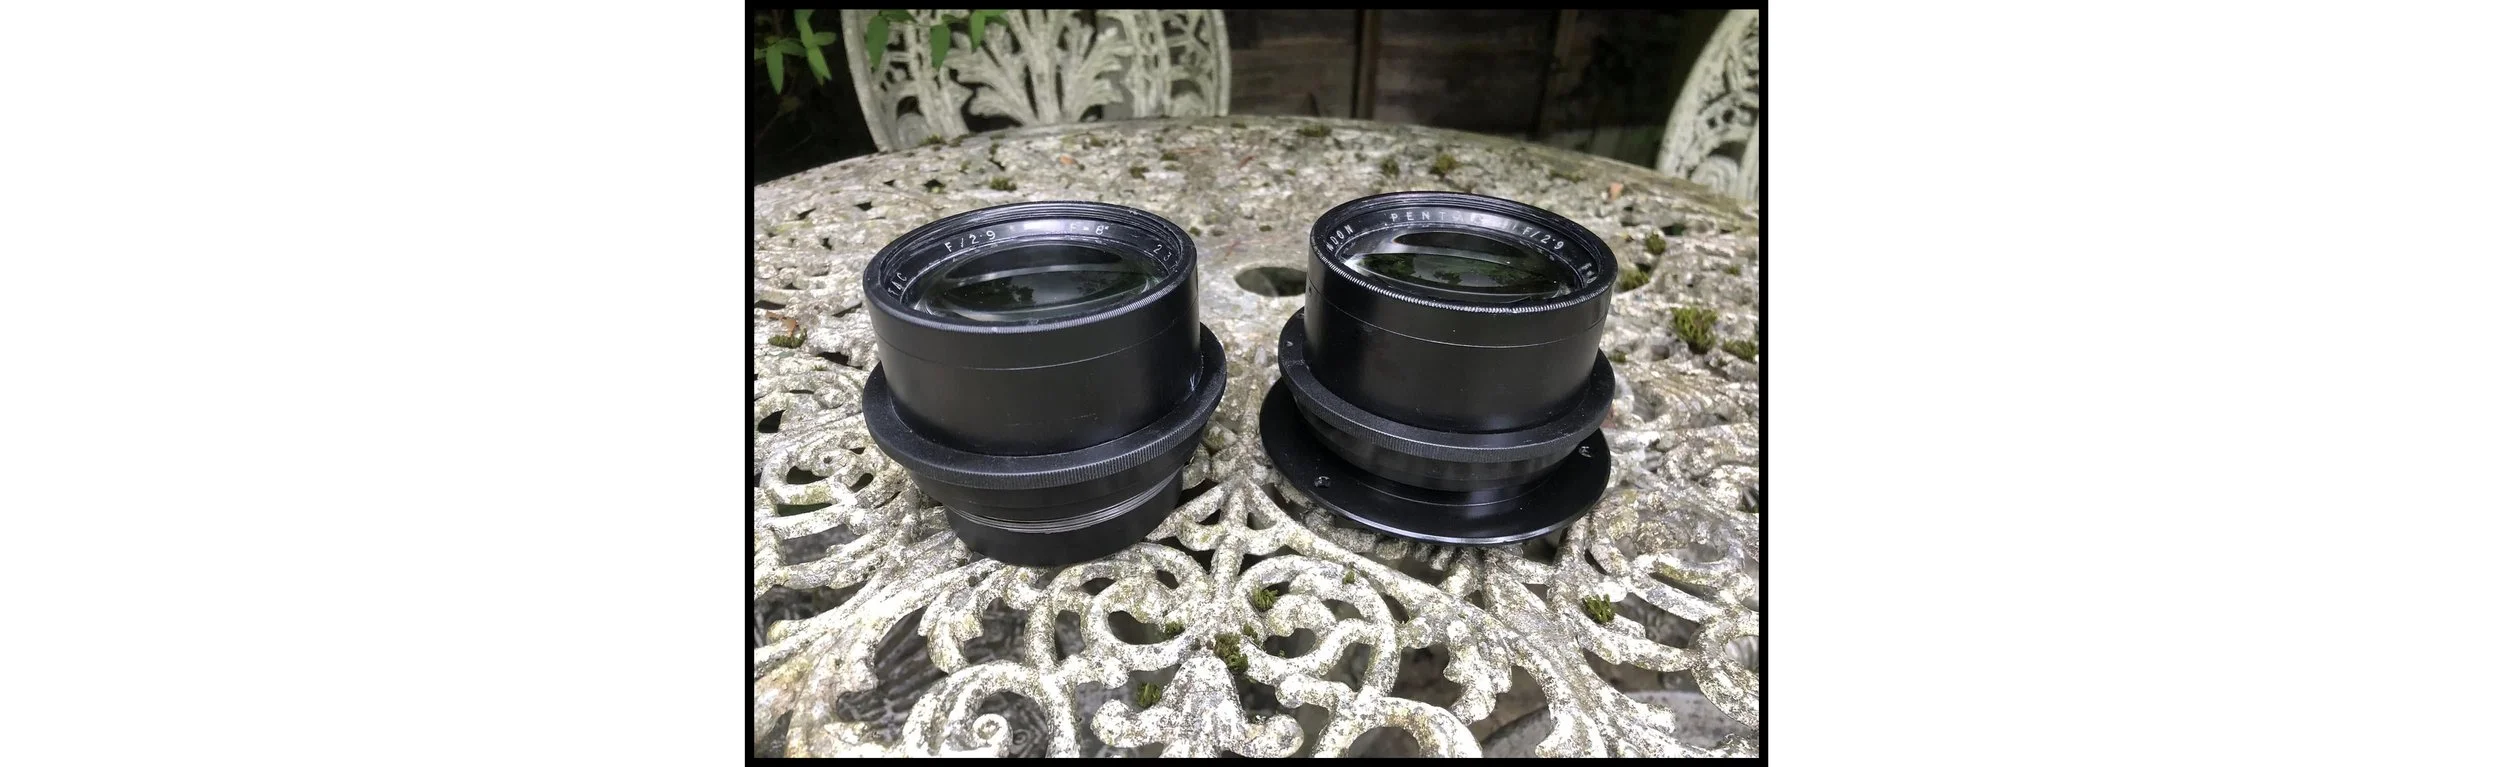
The lenses looked great! Now I needed to tackle the very fine scratches on the top and bottom faces of the cells of both lenses, as these lenses are notorious for flare. This was done using 2.5 micron cerium oxide. It was important to use a minute amount, just enough to remove the light scratches from cleaning over the years, to minimise changing the optical characteristics of the lens cells.

My next problem was how to fit the lens with the flange onto my half plate/5x7 Gandolfi. The issue was that the diameter of the rear of the lens, even without the flange, was wider than a standard Gandolfi lensboard, so I had to improvise. Fortunately, the rear of the lens did fit in the aperture of the front standard.
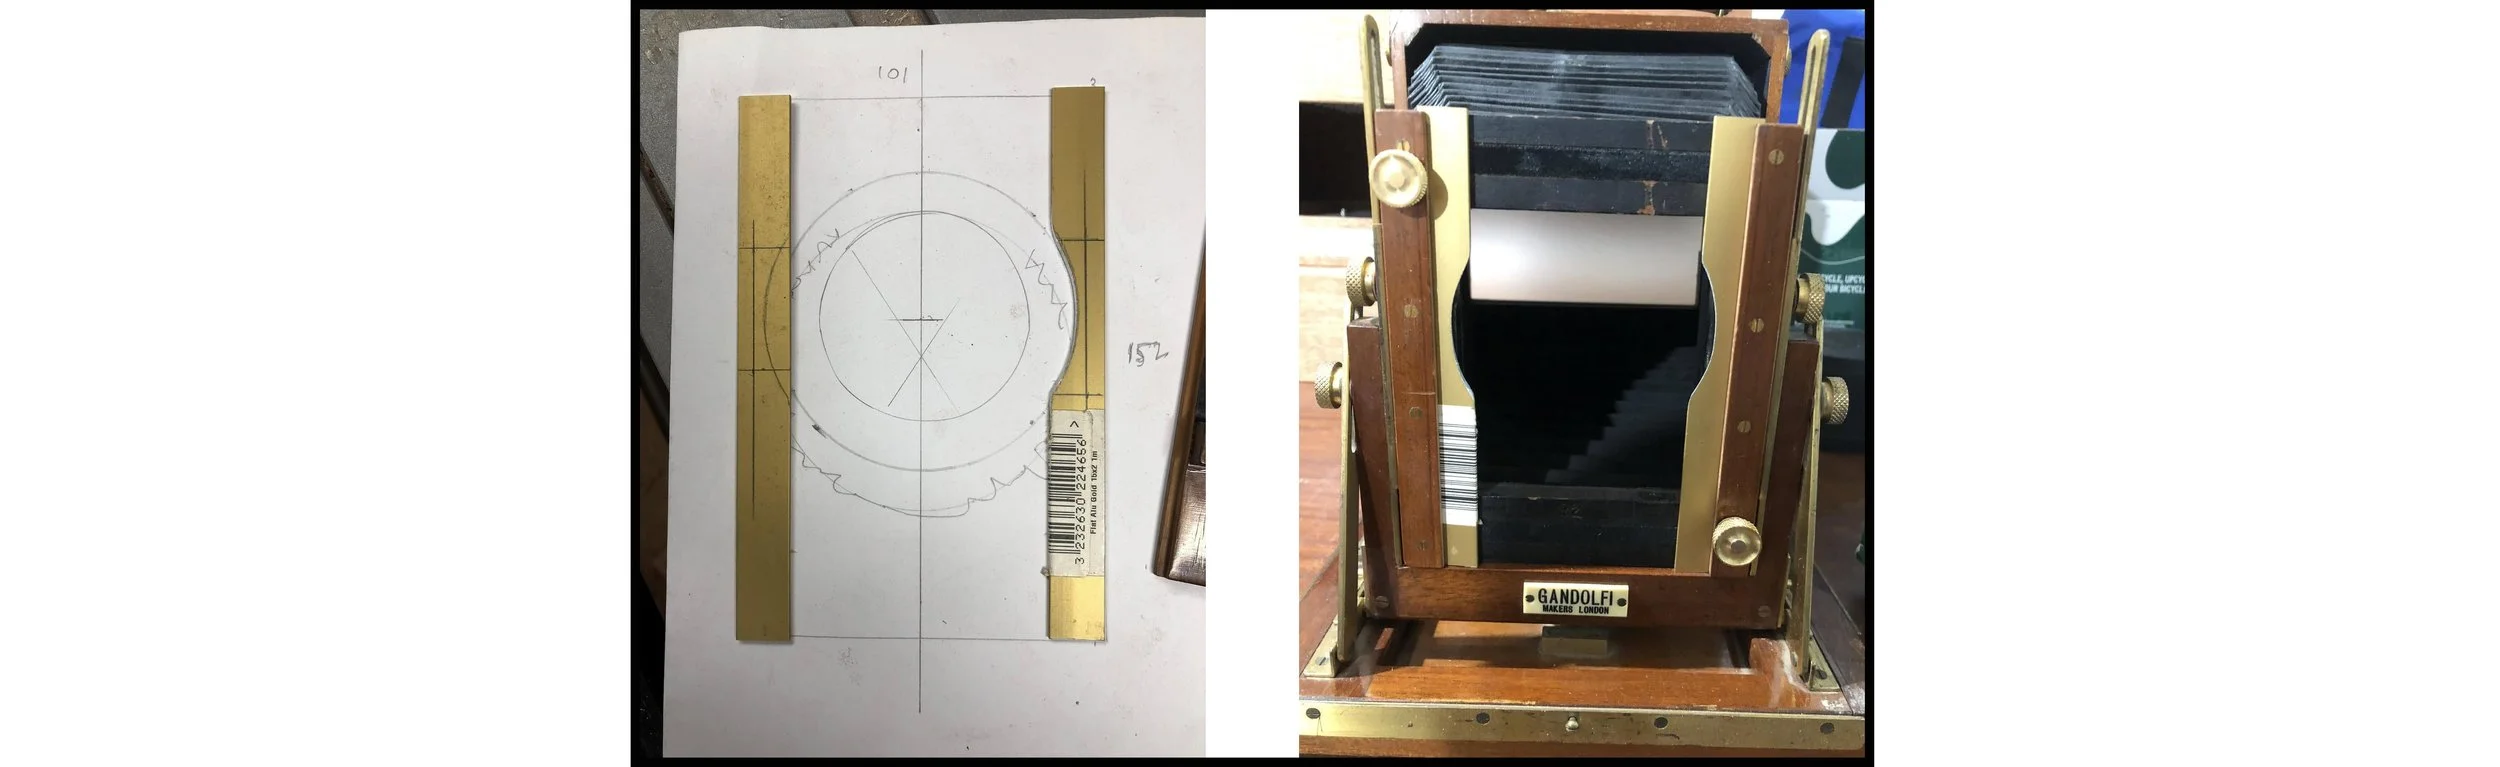
With the Pentac being so heavy, I decided to make runners to fit the lensboard slide, out of aluminium strips from a hardware store.
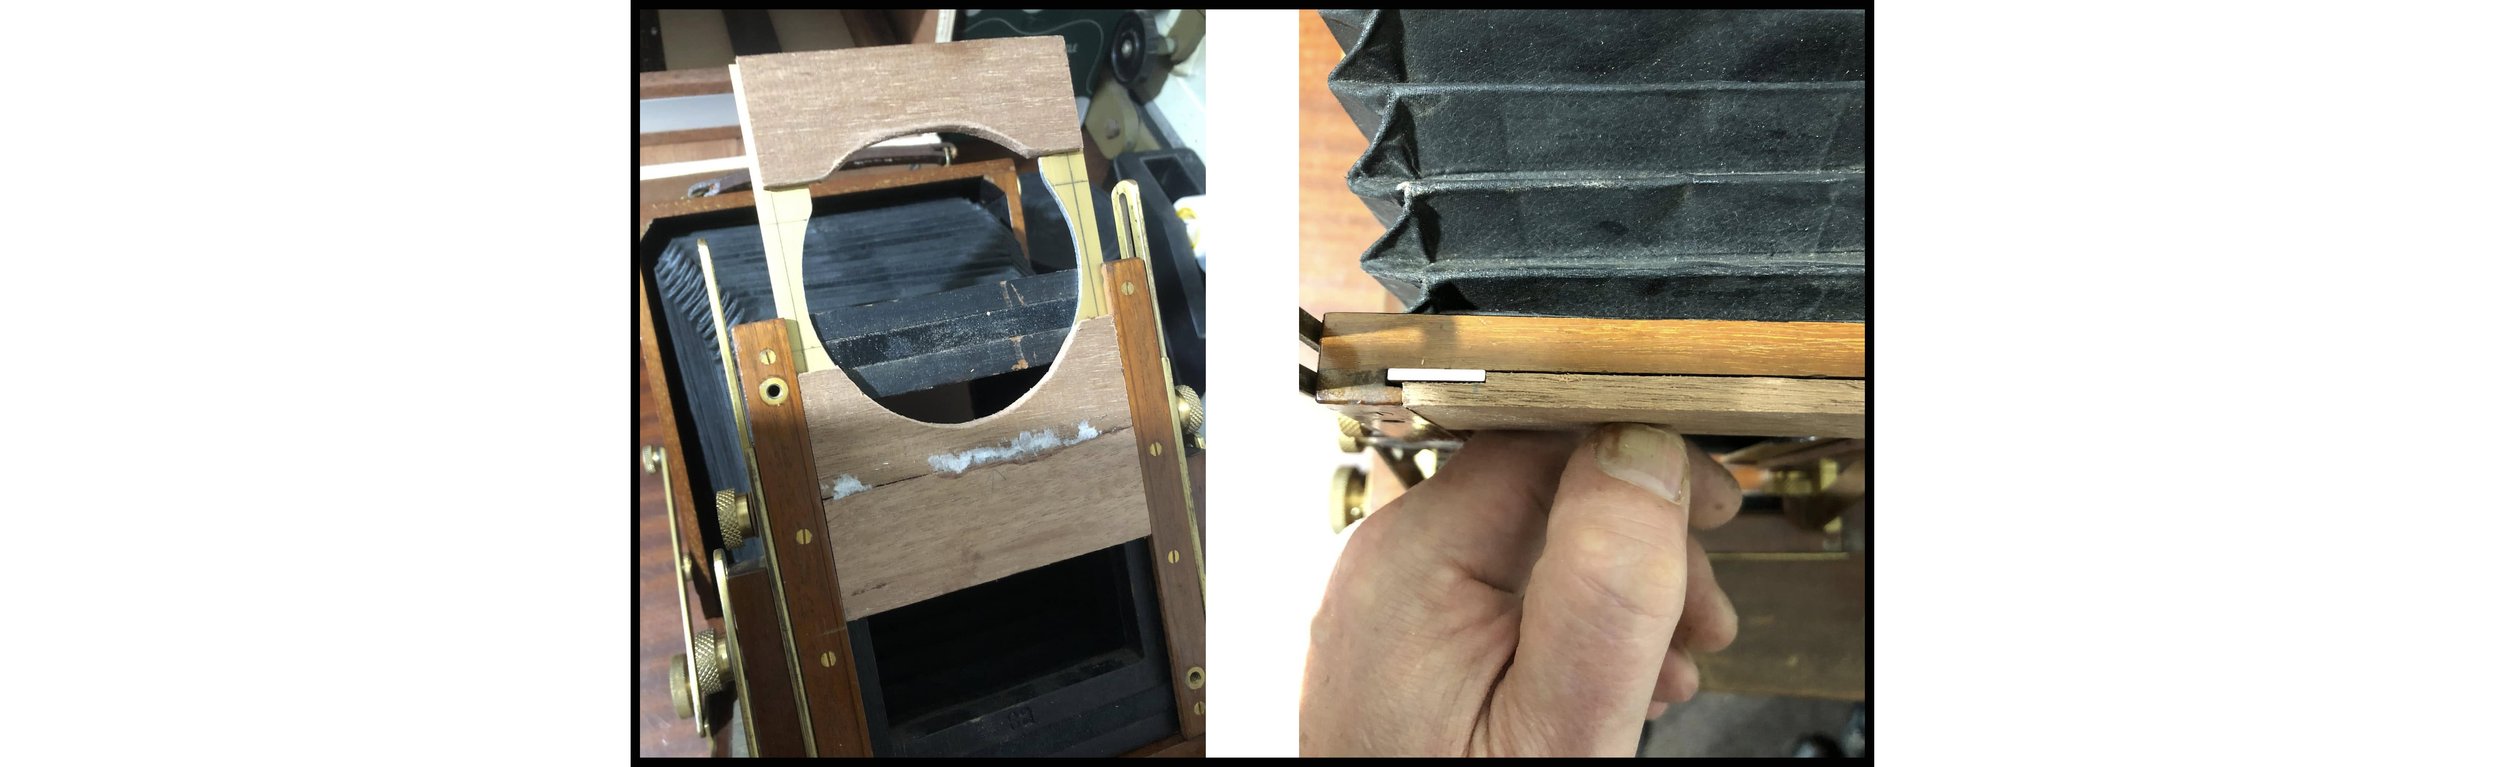
These runners were then shaped to accommodate the rear of the lens and then glued with two-part epoxy to some 6mm ply to make the rear of the lensboard.
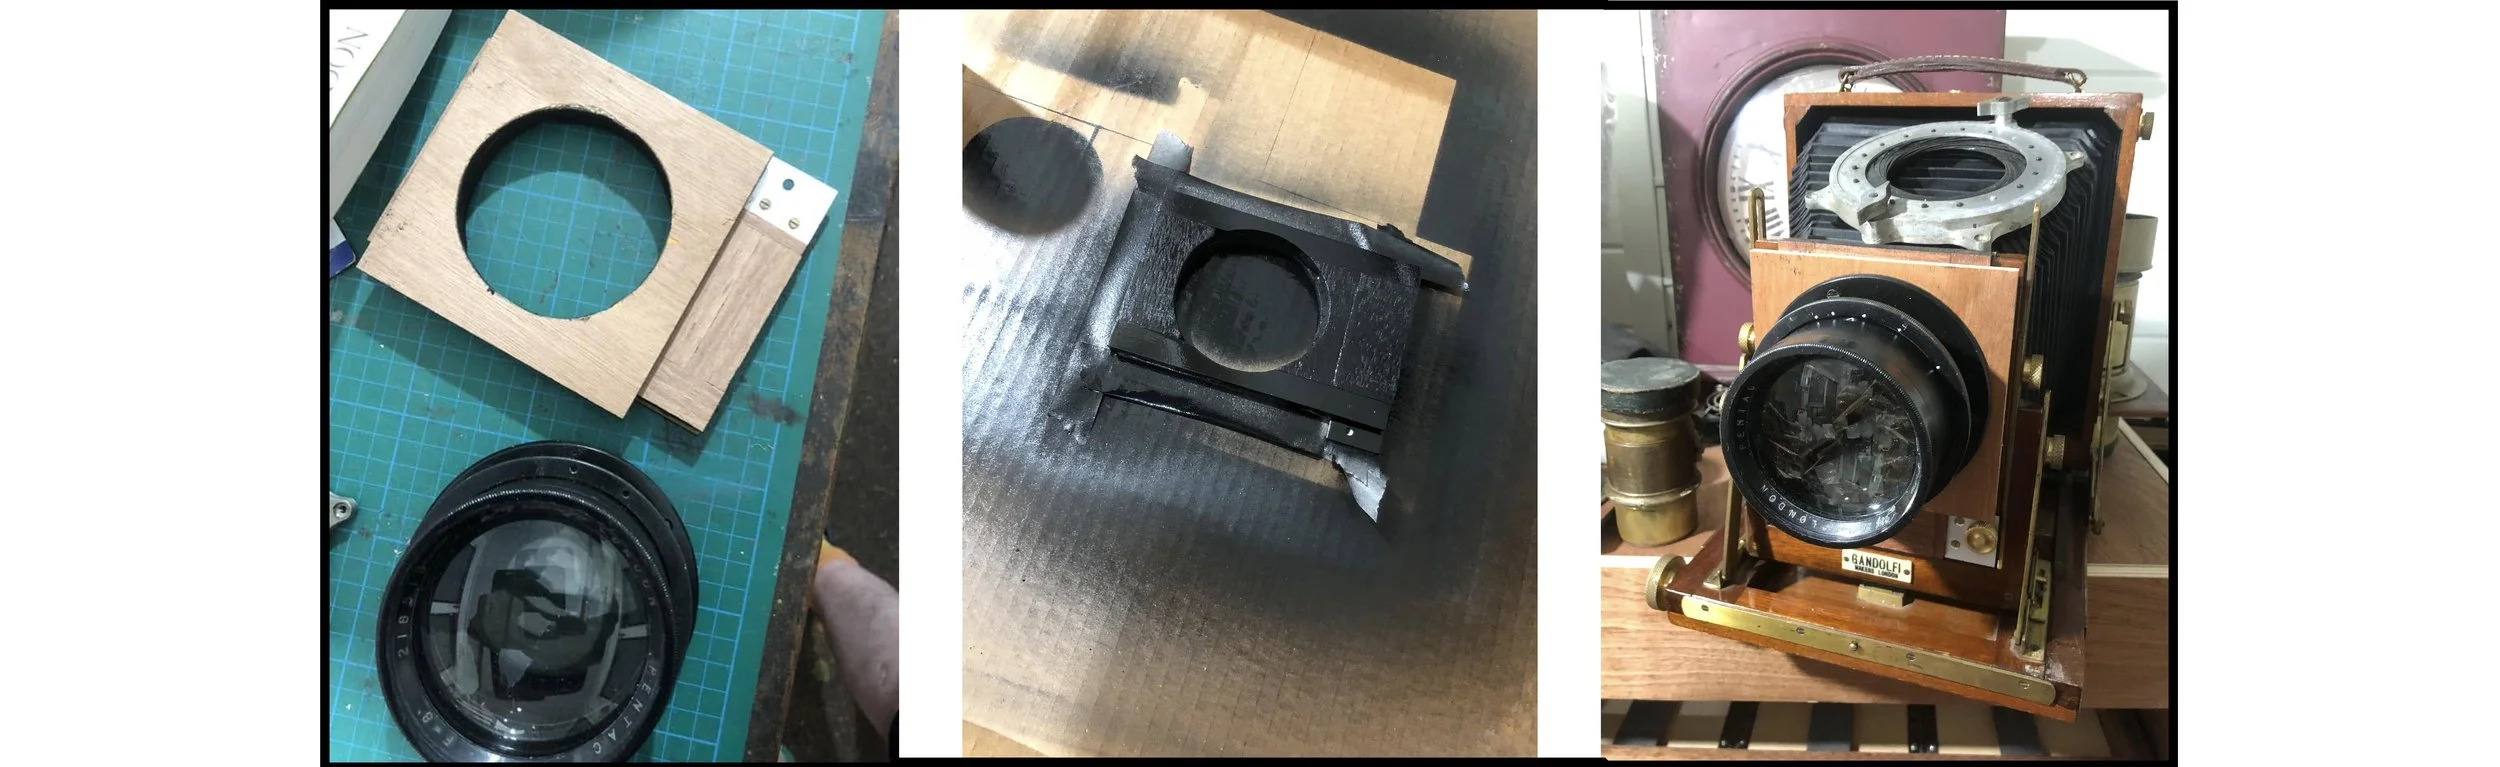
As the rear part of the lensboard was too narrow for the flange, an additional piece of 6mm ply was added. To finish the build, the front of the lensboard was oiled and the rear painted with matt black spray paint. I'm looking forward to using this lens for wet plate collodion when I move into my new studio.